Create VPC and Subnets
Create the Network Environment (VPC)
ℹ️ Objective
- Create an isolated virtual network environment (VPC) in AWS for the restaurant project.
- Use the “VPC and more” wizard to automatically set up the necessary network components, including Public Subnets, Private Subnets, an Internet Gateway, and Route Tables.
🔒 Steps to Follow
1. Access the VPC Service
- From the AWS Management Console, search for the VPC service.
- Select VPC from the search results to go to the VPC management page.
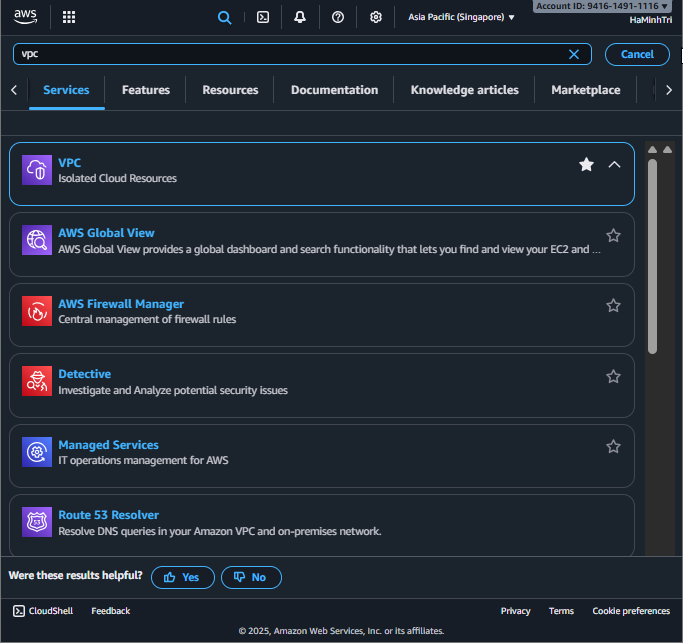
Search for the VPC service
2. Start Creating the VPC
- In the VPC Dashboard, on the left menu, select Your VPCs.
- Click the Create VPC button in the upper right corner.
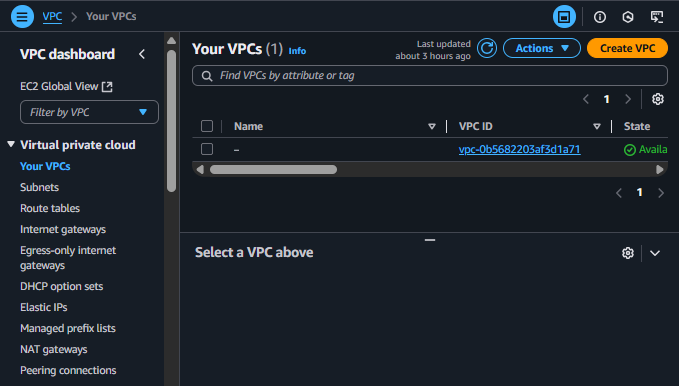
Click the Create VPC button
3. Configure VPC Parameters
On the Create VPC page, under the Resources to create section, make sure you have selected VPC and more to use the automatic creation wizard.
Detailed configuration:
- Name tag auto-generation:
ors-vpc - IPv4 CIDR block: Leave the default
10.0.0.0/16. - Number of Availability Zones (AZs):
2 - Number of Public subnets:
2 - Number of Private subnets:
2 - NAT gateways:
None(To save costs for this workshop). - VPC endpoints:
None
- Name tag auto-generation:
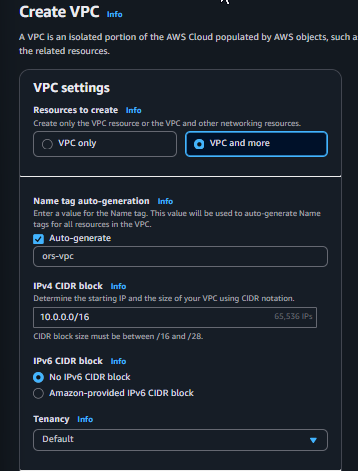
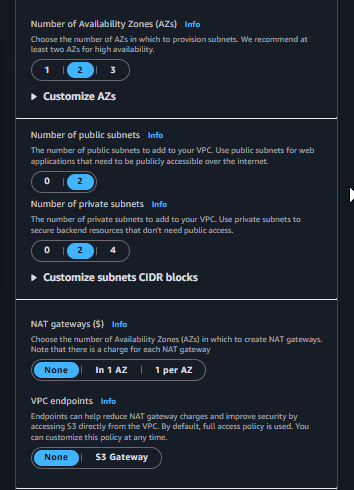
Configure VPC and more for the project
Explanation: We are creating 2 Public Subnets to place resources that need internet access, like the Load Balancer, and 2 Private Subnets to protect sensitive resources like the EC2 backend and RDS database. Spanning across 2 AZs helps increase the system’s High Availability.
4. Finalize and Create the VPC
- After filling in all the information, scroll down and click on Create VPC.
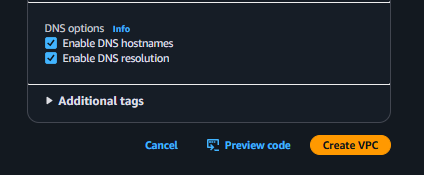
Finalize and create the VPC
5. Check the Result
- The process of creating the network resources may take a few minutes. Once completed, you will see a success message.
- Click on View VPC to review the resources that have been created.
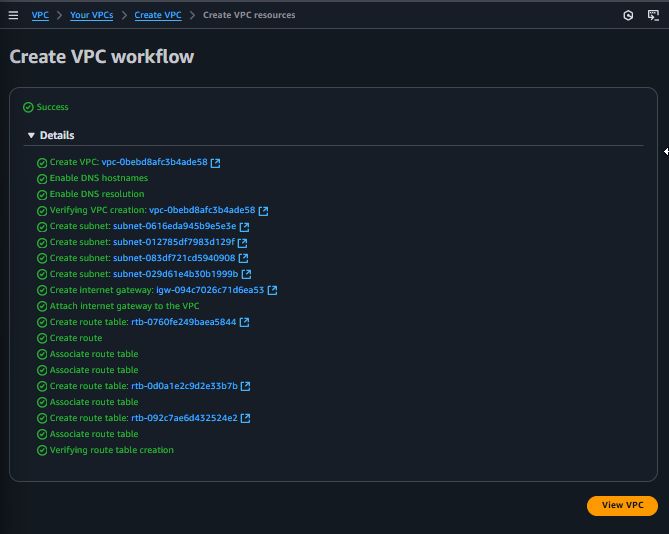
VPC creation success message
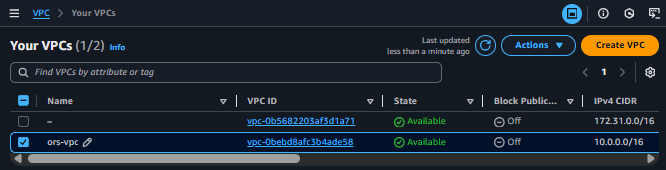
- You will be redirected to the list of VPCs. Here, the newly created
ors-vpcwill have the status Available, ready for the next configuration steps.